These Christmas sweater nails will get you in the holiday spirit
The weather outside is frightful but your nails can be delightful.
Just because it's ugly sweater season doesn't mean your nails have to be ugly too.
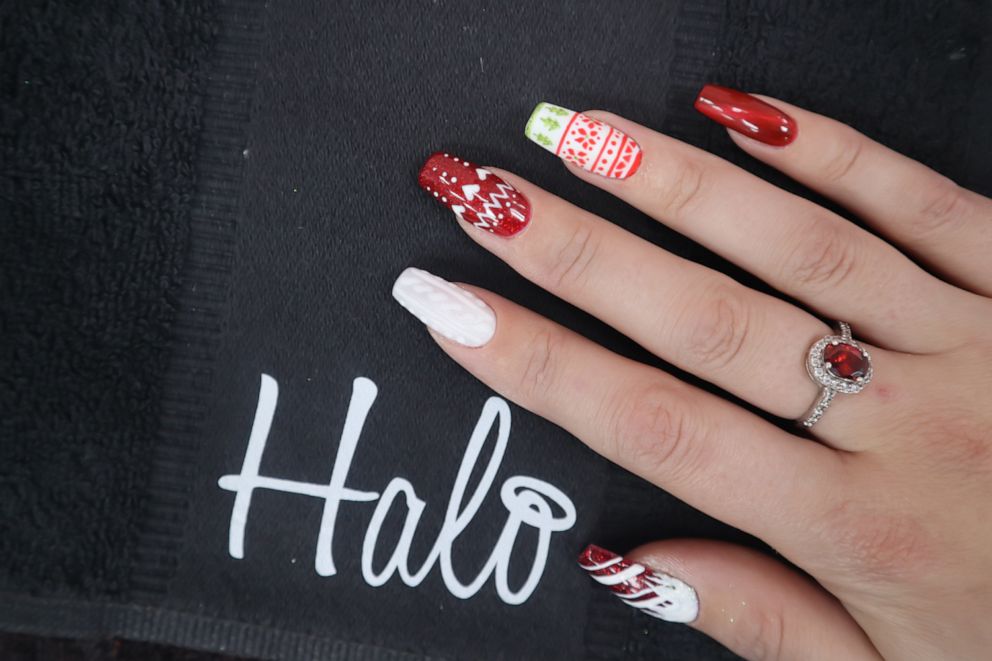
Put some extra glitter and holiday cheer into your look with this Instagrammable Christmas sweater nails design.
Beauty bloggers Kirsty Smitheman, who is a Pure Nails brand ambassador, and Mikhila McDaid, who's behind YouTube'sMissBudgetBeauty, gave "GMA" a step-by-step guide on how to create the seasonal nails.
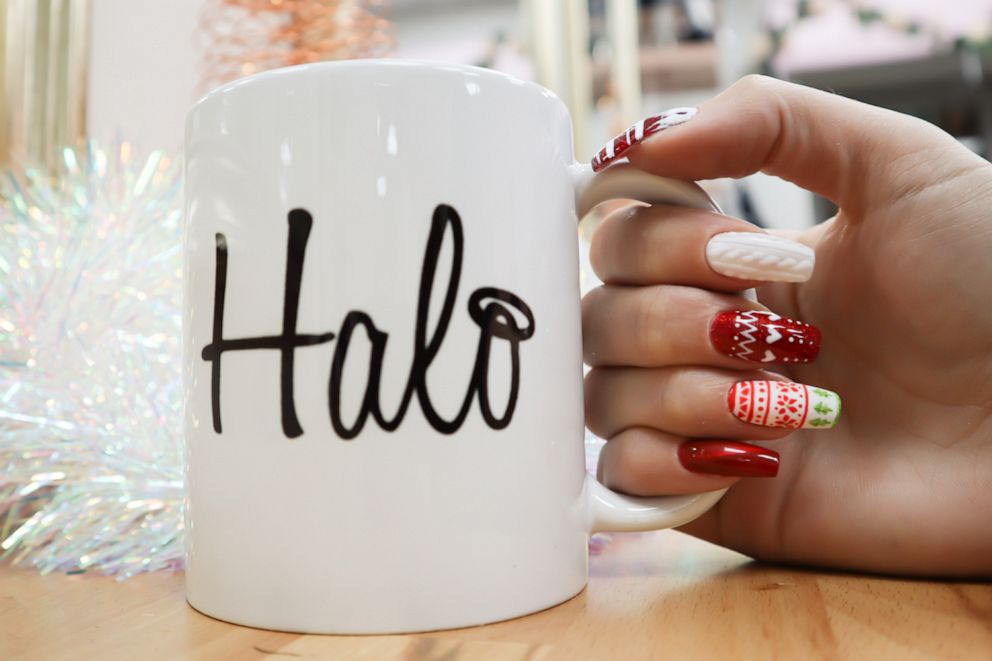
1. Start off your design by choosing a color scheme.
Smitheman chose reds and whites as her main theme.
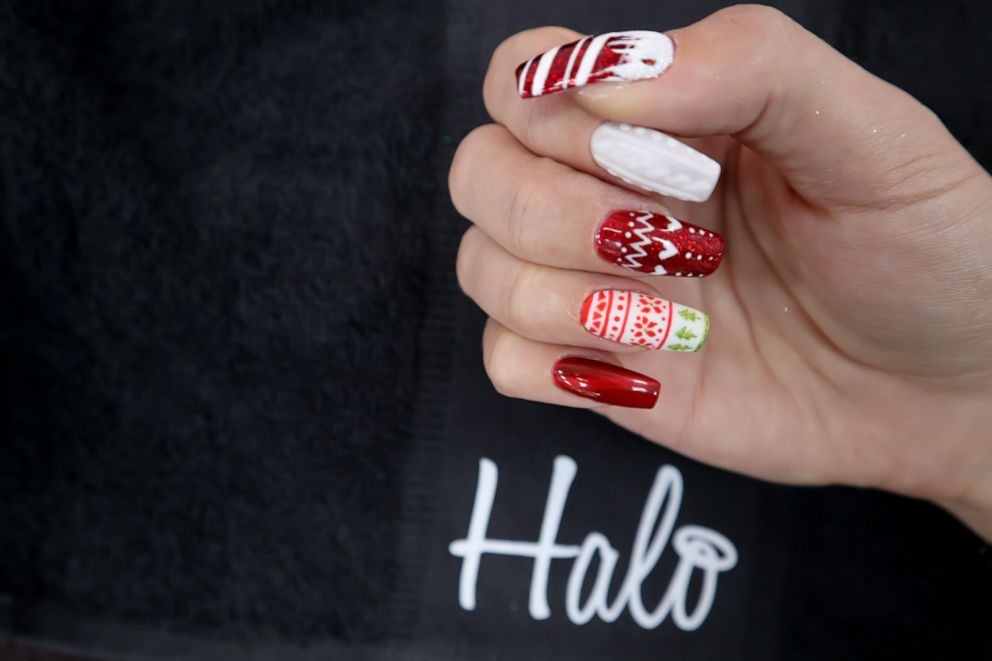
2. Apply a base coat to all 10 nails.
3. Begin by painting your pinky nail.
Apply one coat of gel polish and cure for 30 seconds. For the second coat apply the polish then hold a magnet directly over the nail at an angle for 10-15 seconds to create the cats eye effect before curing.
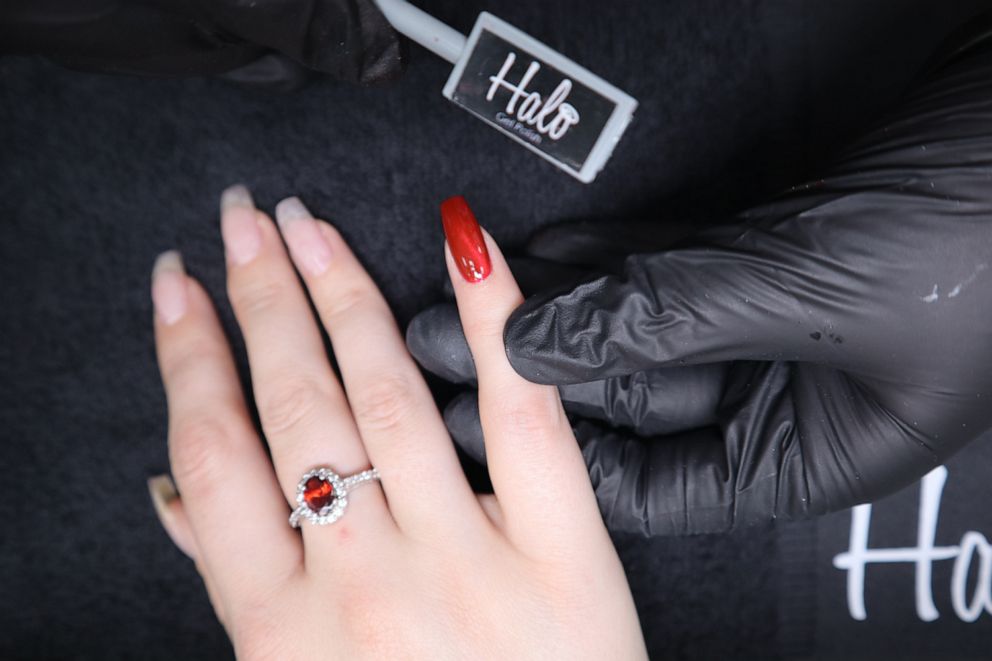
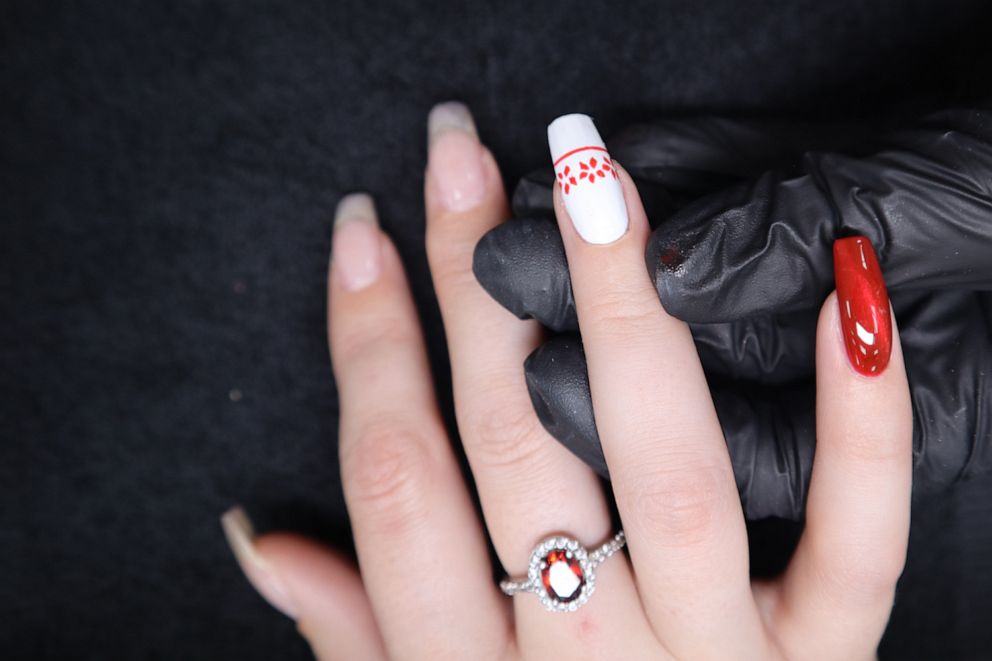
4. Move onto your ring finger.
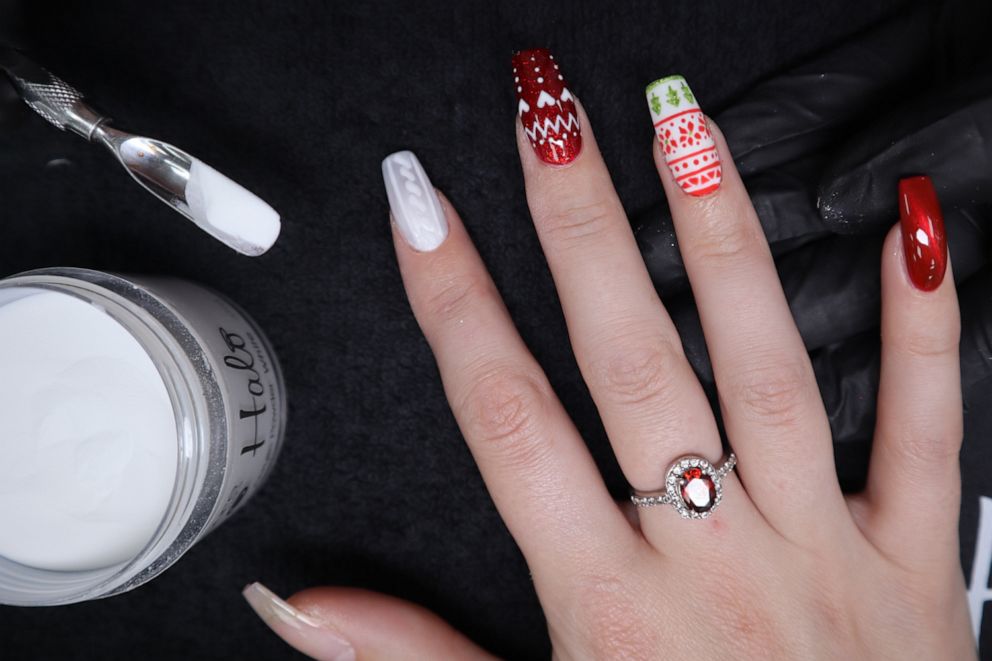
Apply a bright white gel polish and cure. Remove the sticky layer before creating your design. Using a fine detail brush, apply a bright red polish in your chosen design. In Smitherman's jumper nails she used thin lines, dots, Christmas flower shapes and Christmas trees with a sparkly green gel polish. Cure and apply a matte top coat to give even more material effect.
5. For your middle finger use a sparkly red.
Apply a sparkly red gel polish curing both coats. After wiping off the sticky layer create zig zags and small hearts with a fine detail brush and bright white polish.
6. Draw your knitted sweater design on your index finger.
Apply two coats or a soft white gel color and cure both layers. Cover the nail with top coat and cure. Using a larger detail brush drawer your knitted jumper design with a bright white gel, sprinkle on a white acrylic powder to stick to the polish then cure. Do your design bit by bit to keep the definition of the design. Brush away excess powder after each cure and do not apply any top coat.
7. Get glittery on your thumb nail.
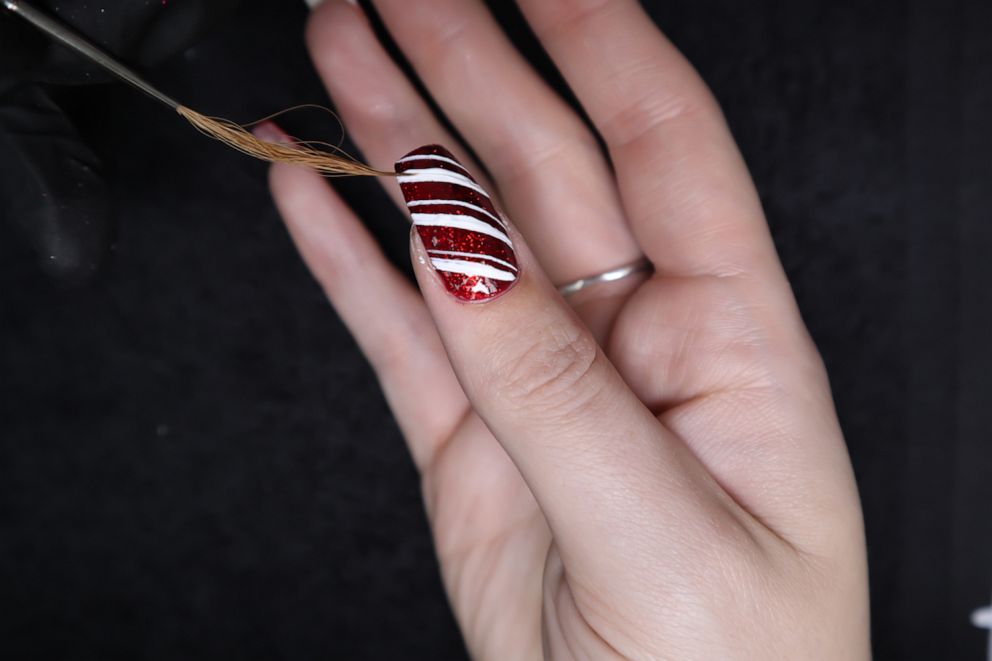
Use another red glitter polish this time with bigger glitter. Use a long striping brush, pick up a bright white polish and apply diagonal lines across the nail. One thin and one thick. Cure the white and apply top coat. Use a fine detail brush to apply white polish around the cuticle area to create icicle. Before curing, sprinkle in your chosen winter glitter to stick to the polish. Cure and brush away the excess.
Editor's note: This was originally published on Dec. 23, 2019.
