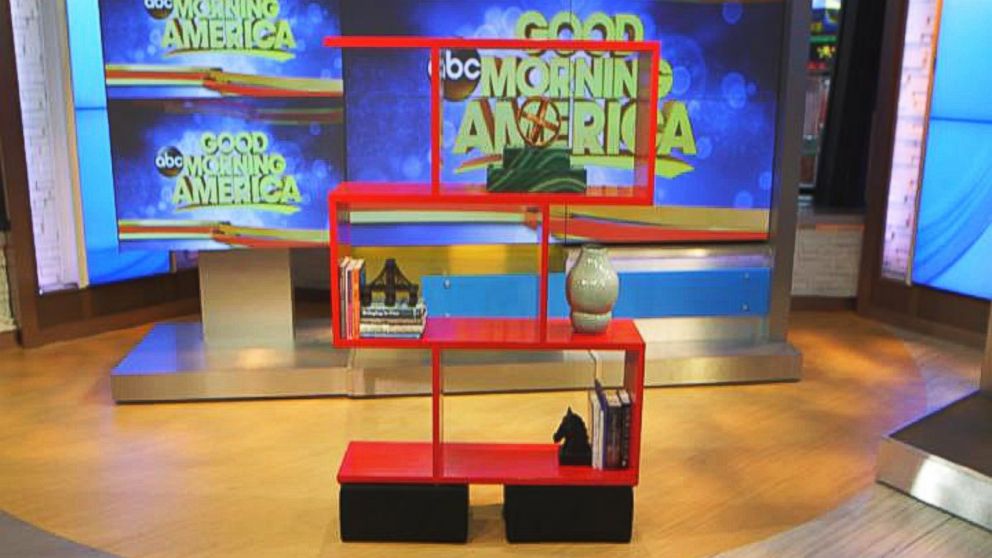
Jennie Garth’s DIY 101: How to Make a Contemporary Bookshelf
Want to make a bookshelf for storage or home decor? Jennie Garth can help!

— -- Actress Jennie Garth is appearing on HGTV in “The Jennie Garth Project,” a series in which viewers can watch as she remodels a dated Hollywood Hills home for her family.
Garth also provided a bonus online video, showing step-by-step tips for how you can make a chic, contemporary bookshelf for your home. Modern shelving creates show-off storage that adds style and function to any space.
All the steps in the video are detailed below:
Click HERE for Jennie’s five easy tips to renovate your home.
Materials Required
Three 2’x4’ wooden panels or plywood
Screw gun
Countersink bit
2” screws
Wood filler
Putty knife
Sand paper
Paintbrush
Primer
Oil-based enamel paint
2’x4’x1” (true or 5/4) Edge-glued wooden panels (stain grade)
The Steps
1. Rip panels into 1’x4’ strips. 6 strips (3 panels) are required for this project.
2. Set four 1’x4’ strips to the side for shelves.
3. Cut six pieces at 15 ¾”.
4. Measure 32” and mark with a speed square. This will be the center of your vertical boards. (These steps are building from the top down.)
5. Predrill with the counter-sink bit and attach the vertical pieces with 2” screws.
6. Repeat steps 4 and 5 starting from the other direction on the next shelf.
7. Repeat steps 4 and 5 and attach the final shelf to the bottom.
8. Attach the bottom section to the middle section.
9. Attach top section.
10. Fill any screw holes or dents with wood filler, and sand when wood filler is dry. Repeat step if additional wood filler is needed.
11. Prime bookshelf with a stain-blocking primer. This is needed due to the knots in the wood and will allow a uniform finish coat.
12. Lightly sand primed unit with 220 grit or higher sandpaper if needed to knock down any raised fibers in the wood.
13. Apply the finish coat of high gloss oil-based enamel and allow to dry for 24 hours. Repeat with a final coat.
14. The bookshelf is complete.


