These ugly Christmas sweater nails are Pinterest-perfection and easy to pull off
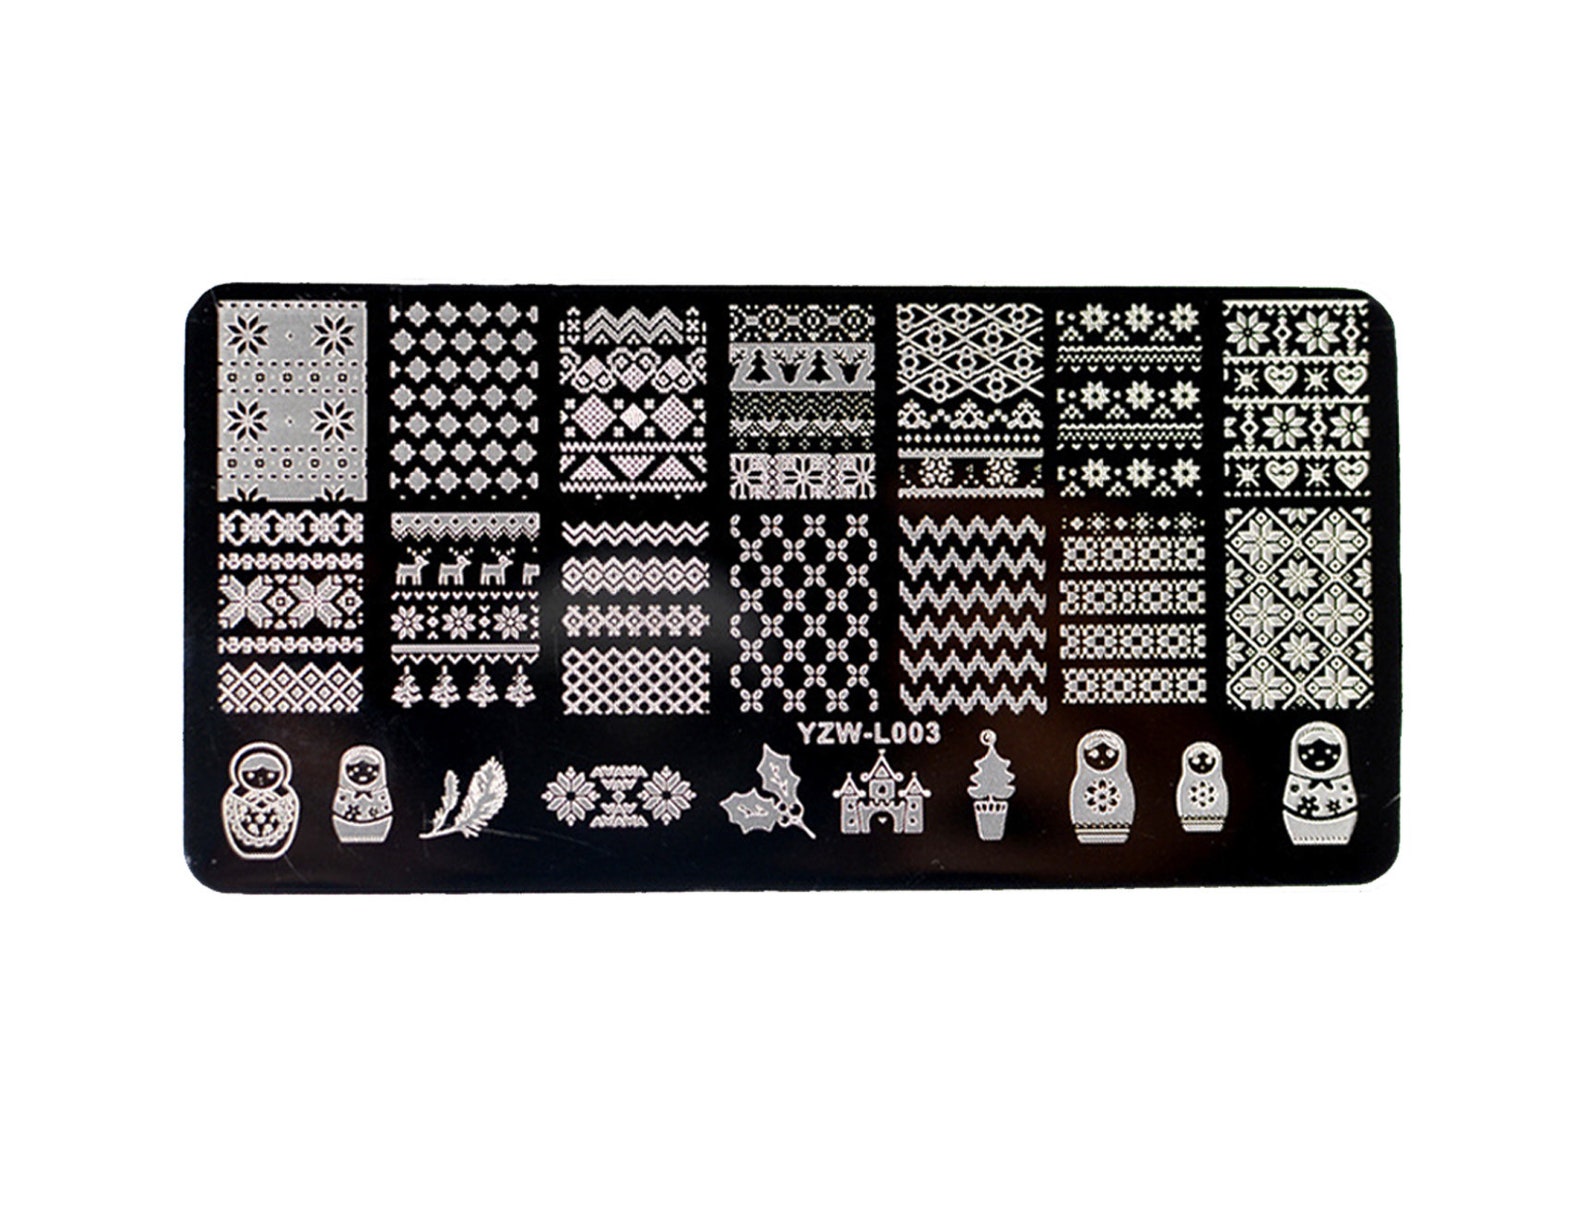
These nails were achieved by using a nail stamping plate.
Ditch the DIY free-hand with this ugly sweater-inspired holiday mani that's not so ugly after all.
These nails by Bobbie Gossage of New York were achieved by using a nail stamping plate and non-traditional pastel shades.
Here's how to get the look.
What you'll need
1. An ugly Christmas sweater nail stamping plate.
2. A nail stamper and scraper.
3. A white stamping polish (or a thick white nail polish like Sally Hansen's Insta-Dry).
4. Base coat.
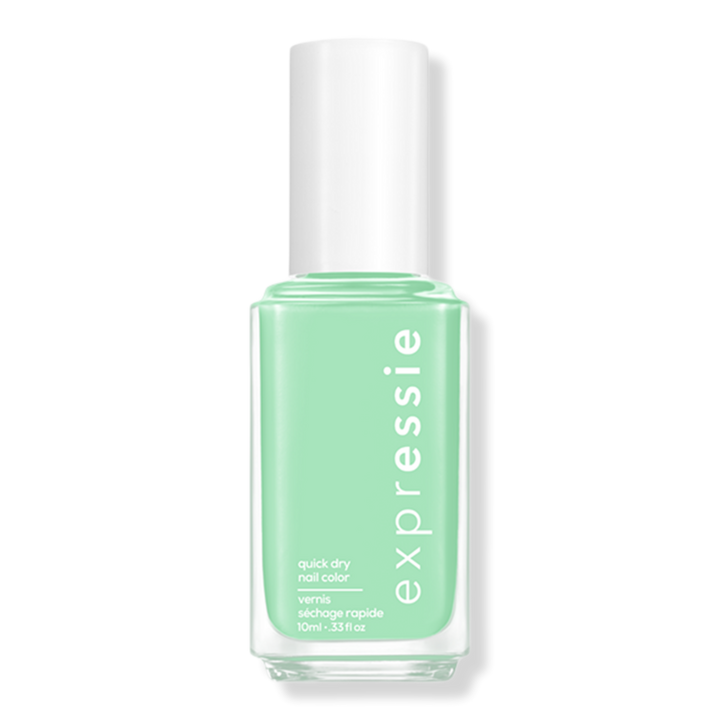
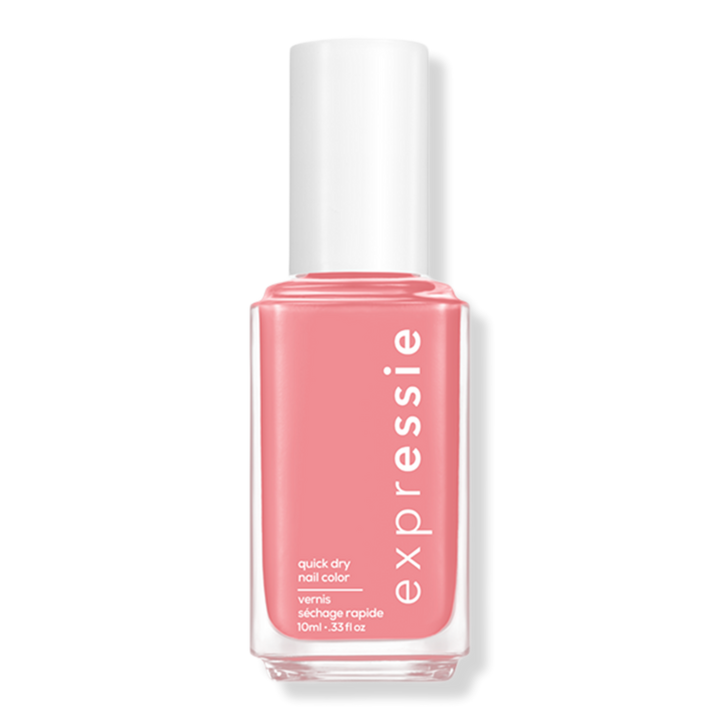
5. Nail polish.
6. Top coat.
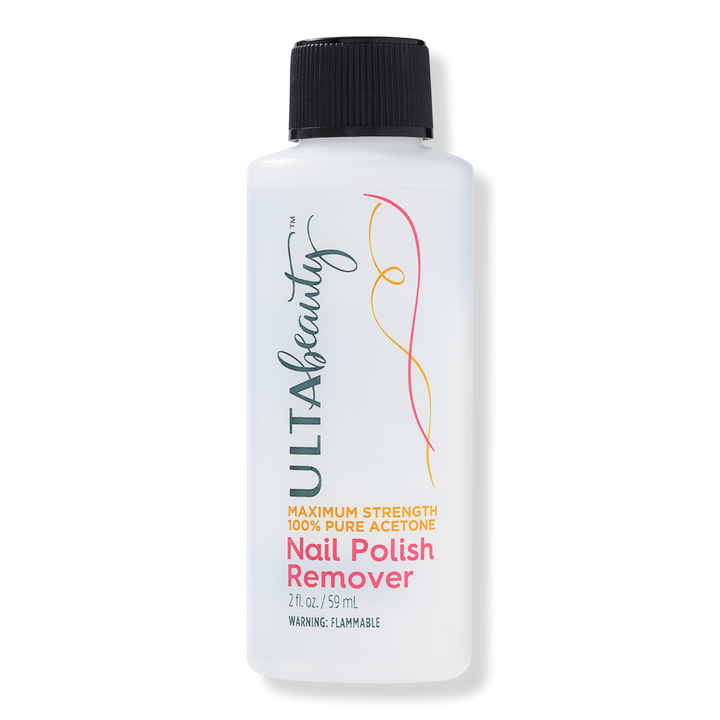
7. 100% acetone nail polish remover.
8. Clean-up brush or cotton swabs.
By clicking on these shopping links, visitors will leave Goodmorningamerica.com. These e-commerce sites are operated under different terms and privacy policies than Goodmorningamerica.com. ABC will receive a commission for purchases made through these links. Prices may change from the date of publication.

How-to
1. Paint your nails with a clear base coat.
2. Apply white stamping polish to half of the design on your stamping plate.
3. Scrape the polish across the plate at a 45-degree angle, and then quickly roll the stamp over it to pick up your design.
4. Paint three stripes of your mint and pink polish across the stamper.
Tip: Bobbie says you don't have to be super precise, but make sure you have a generous amount of polish on your brush so that you are gently gliding over the white and not dragging the brush through it. Otherwise, you may smear your design.
5. Let the polish dry on the stamp for about 5 minutes. It should feel dry to the touch, but still flexible.
6. Gently roll stamp onto your nail.
7. Clean up around the edges with acetone.
8. Add a quick-dry top coat.
9. Repeat for the rest of your nails.
10. Wow your holiday party guests!
Editor's note: This story was originally published on December 18, 2018.

Popular Reads
ABC News Live